


How to Replace GE Oven Light Bulb: Step‑by‑Step Guide
A working oven light is more useful than most people realize. It lets you check on your cooking without opening the door and losing heat. But what happens when it burns out? That’s when you need to replace the GE oven light bulb. Don’t worry, it’s easier than it sounds, and you don’t have to be an expert to get it done safely. In this guide, we’ll walk you through how to replace a GE oven light bulb step by step, share helpful tips, and even cover optional troubleshooting for the receptacle. And if you find your oven stops working even after replacing the bulb, you might need professional help, like Smart appliance Services or Oven repair in Saint Pete.
Why You Might Need GE Oven Light Bulb Replacement
Oven bulbs aren’t like regular light bulbs. They’re designed to handle heat and vibration, so when they go out, it usually means they’ve lived their full life. Common reasons for needing a GE oven light bulb replacement include:
- Age: Just like any bulb, they eventually burn out.
- Frequent use: If you cook often, the bulb can wear faster.
- Heat damage: High oven temperatures over time can shorten lifespan.
Signs it’s time to change your bulb are simple: if your oven light flickers, dims, or stops working completely, it’s probably time for a replacement. Always remember to use the correct appliance-rated bulb, regular bulbs won’t last in an oven.
Safety First: Before You Begin
Before we dive into how to replace a GE oven light bulb, safety should be your top priority. Here are some quick tips:
- Turn off the power: Unplug the oven or shut off the circuit breaker.
- Let it cool: Oven bulbs get hot quickly, so make sure the oven is completely cool before touching anything.
- Wear gloves: This protects your hands and prevents oils from your skin from getting on the bulb, which can shorten its lifespan.
- No shortcuts: Never attempt this with the power on, serious accidents can happen.
A little caution goes a long way, and following these steps ensures a smooth replacement process.
Tools and Materials You’ll Need
Gathering everything before you start makes the job much easier. For a standard GE oven light bulb replacement, you’ll need:
- The replacement oven light bulb (make sure it matches your oven model and wattage).
- Screwdriver (flathead or Phillips, depending on your oven).
- Dry cloth or gloves to handle the bulb.
- Optional: nut driver, if you need to access deeper parts or the receptacle.
Having these ready will save you from running around mid-job and keep the process safe.
Step‑by‑Step Guide: How to Replace GE Oven Light Bulb
Replacing your oven bulb isn’t complicated, but taking it step by step makes it even easier. Here’s exactly how to replace a GE oven light bulb safely and correctly.
Disable Power and Prepare
First, unplug your oven or turn off the breaker. Don’t skip this step. Then, wait for the oven to cool completely. A hot bulb can burn your fingers, so patience is key.
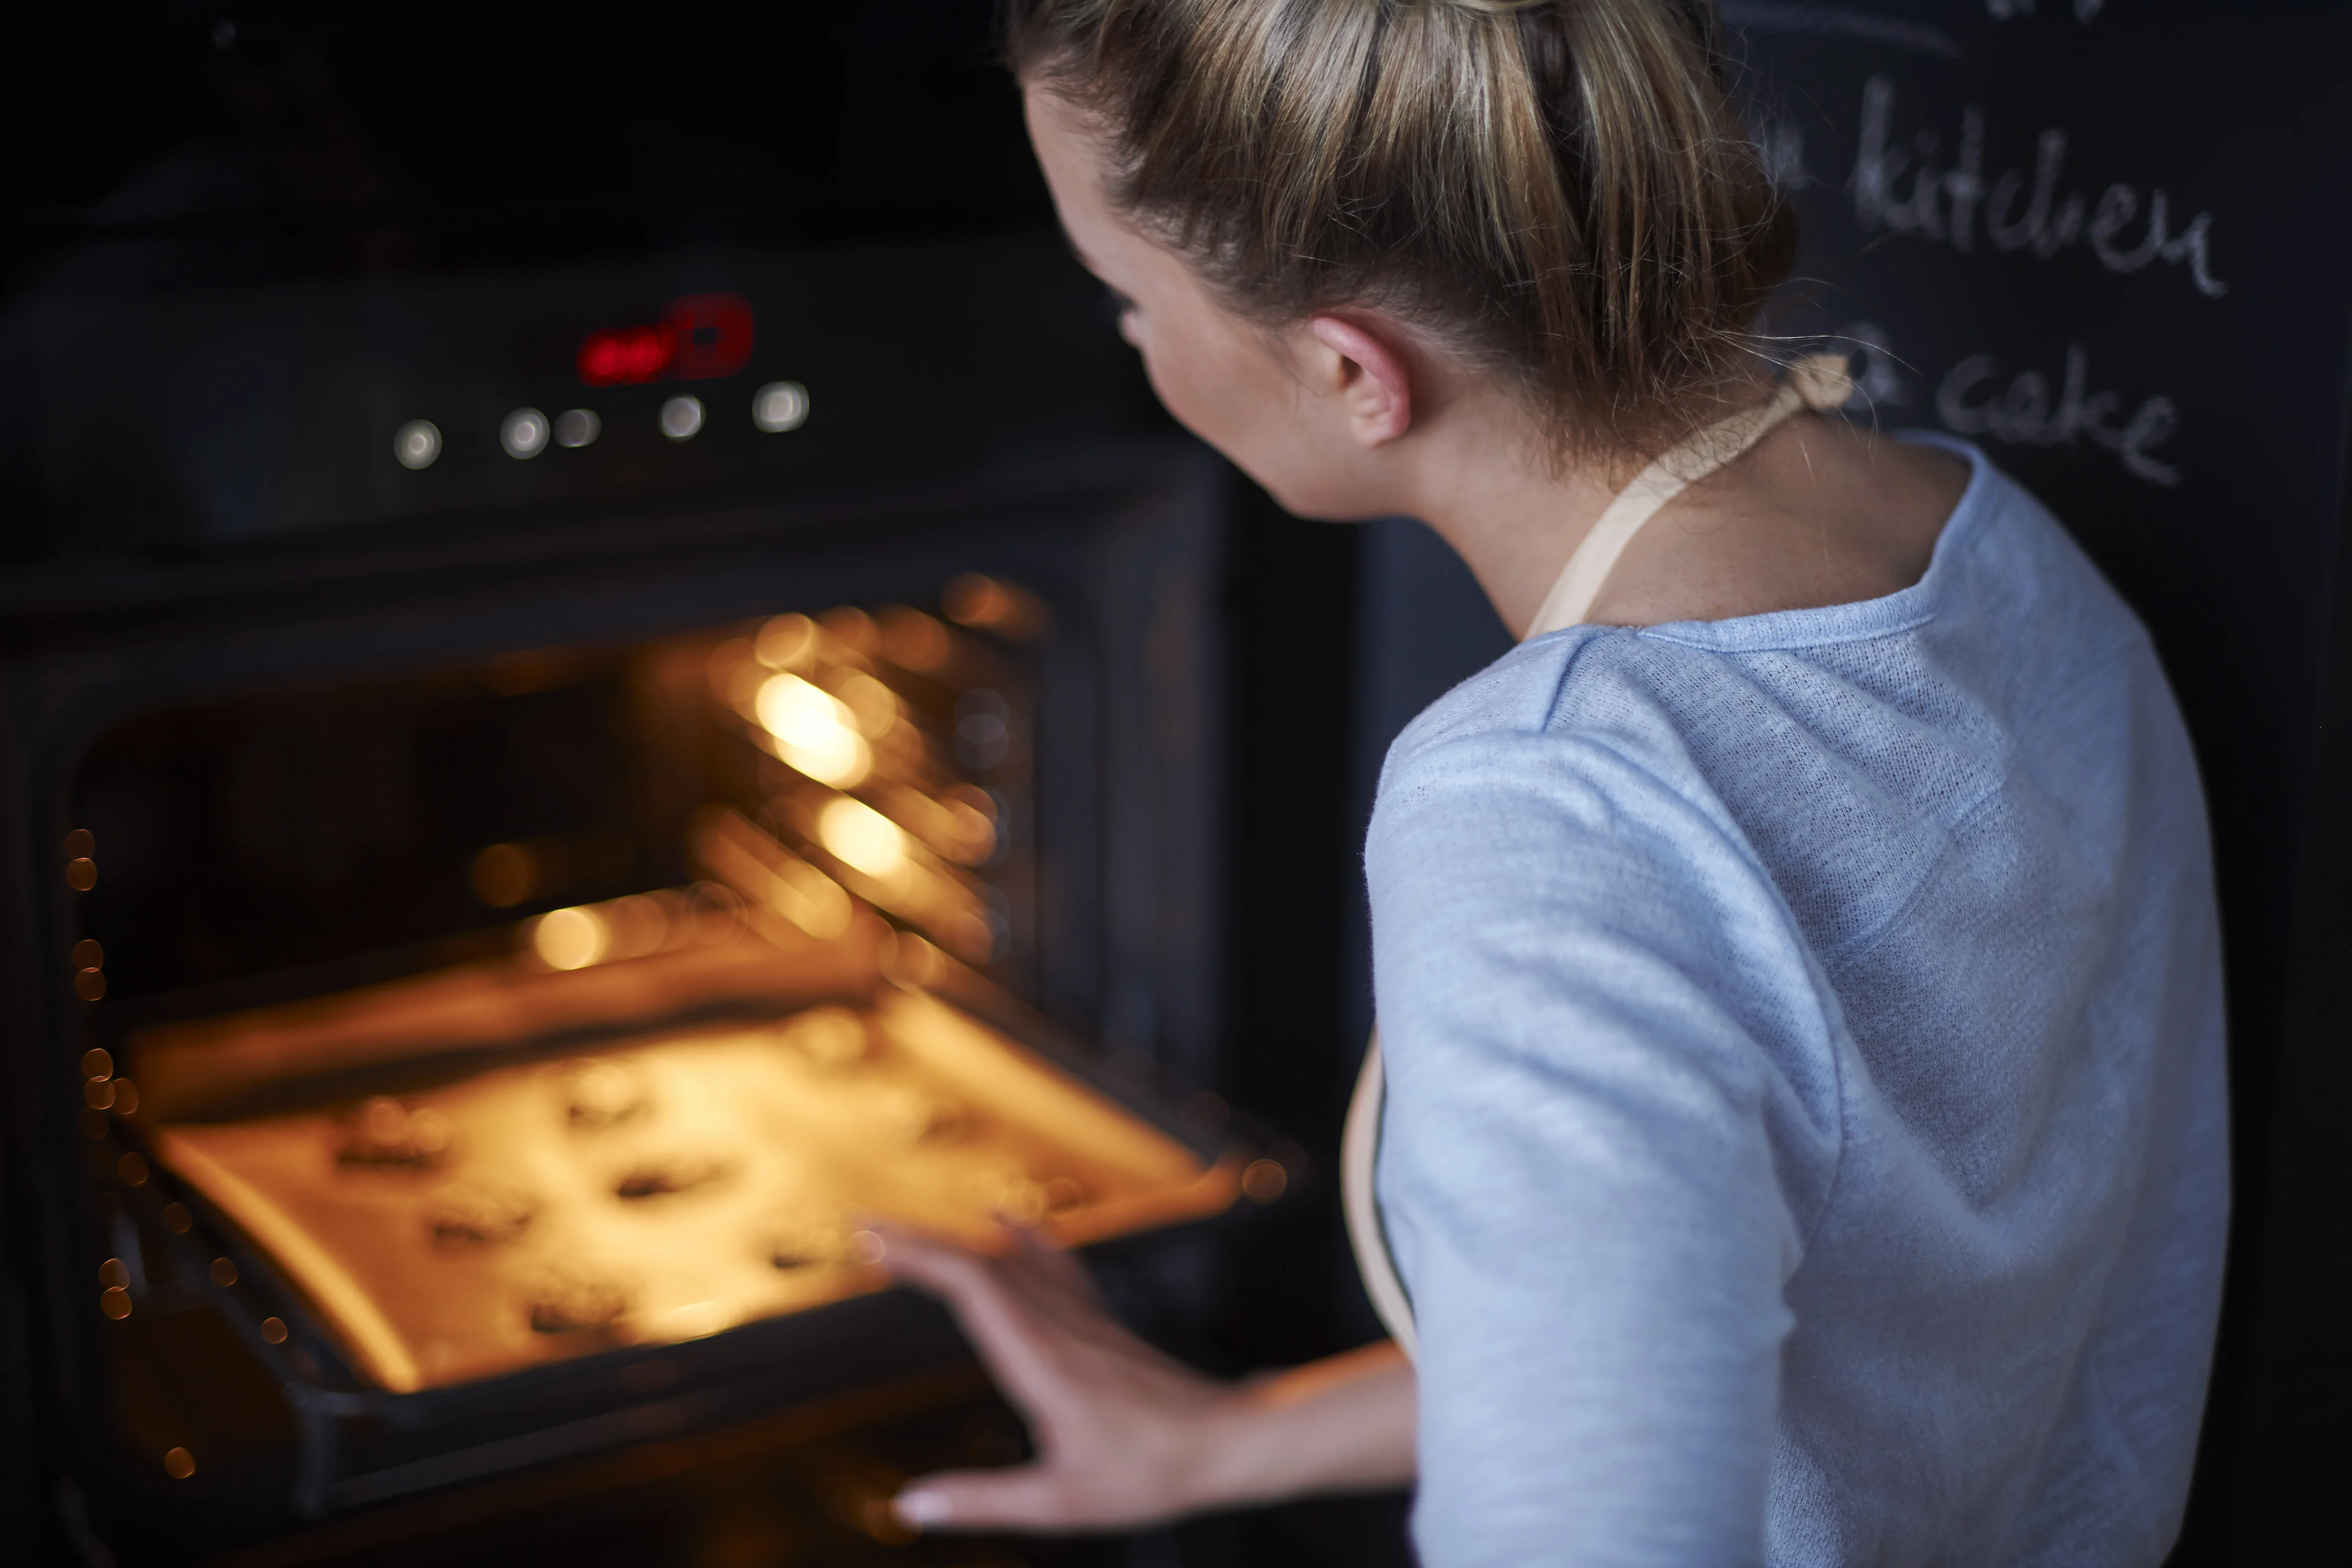
Remove the Light Cover
Locate the light inside the oven. Most GE ovens have it on the back wall or side. Carefully remove the protective glass cover. Depending on your model, this may twist counterclockwise or be secured with screws. Keep the screws in a safe spot, they’re tiny and easy to lose.
Remove the Old Bulb
Gently unscrew the old bulb by turning it counterclockwise. If it feels stuck, use a cloth or gloves for a better grip. Avoid using metal tools, as this could damage the socket or glass.
Install the New GE Oven Light Bulb
Take your new bulb (make sure it’s the correct appliance-rated bulb), and screw it clockwise into the socket. Handle it with gloves or a dry cloth to avoid getting oils on the glass. Touching the glass can shorten its lifespan. Screw it in snugly, but don’t over-tighten, it doesn’t need to be forced.
Reattach the Cover and Restore Power
Once the bulb is secure, replace the glass cover or lens, making sure it’s seated properly. Plug the oven back in or turn on the breaker and test the light. If it turns on immediately, congratulations, you’ve successfully completed a GE oven light bulb replacement.
Optional: Replacing the Light Bulb Receptacle or Socket
Sometimes, replacing the bulb alone isn’t enough. If the new bulb doesn’t light up, the issue could be the receptacle or socket. Here’s a quick overview:
- Remove the back panel of the oven carefully.
- Disconnect the wires from the old receptacle.
- Snap in the new receptacle and reconnect the wires.
Only attempt this if you’re comfortable handling small electrical components. Otherwise, call a professional to avoid accidents. This optional step is a lifesaver for stubborn oven lights that won’t turn on.
Tips & Troubleshooting
Even with the right bulb, you might run into minor issues. Here are some quick fixes:
- Bulb flickers: Check the socket connections, they may be loose.
- Protective lens stuck: Warm the oven briefly to loosen it, but never touch a hot bulb directly.
- Bulb burns out too fast: Handle with gloves, and always use an oven-rated bulb.
These small adjustments can save you time and frustration.
Conclusion
Replacing your oven bulb doesn’t have to be intimidating. With the right tools, a little patience, and careful attention to safety, you can complete a GE oven light bulb replacement in minutes. Following this guide, you now know how to replace a GE oven light bulb step by step, how to troubleshoot minor issues, and even when to consider replacing the receptacle.
Next time your oven light goes out, you won’t need to call a repair technician, you’ll have the confidence to do it yourself safely and efficiently.
FAQs
What size bulb do I need for a GE oven light
Most GE ovens use a 40W appliance bulb, but always check your oven model or manual to match the part number.
Can I use a regular light bulb?
No. Oven bulbs are designed to withstand high heat and vibration. Regular bulbs will burn out immediately.
Why does my new bulb burn out quickly?
Oils from your fingers or improper wattage are usually the cause. Always handle it with gloves and use the correct bulb.